3 Things to Do and Your Water Heater Will Work for More than 12 Years

Your water heater’s responsible for your home’s hot water. It usually appears as a barrel-shaped white or gray plastic tank with pipes going in and out of it, located in the basement. It is a cleverly-engineered, fairly simple item. Still, its apparent sturdiness is deceiving insofar as it is easy to overlook the small amounts of maintenance necessary to extend its lifetime.
The tank is supplied with cold water by a heated pipe at the tank’s bottom, where heating elements are located. When required, it is accessed through its hot water pipe, located at the tank’s top. If hot water is not being used, it is kept heated. The temperature is gauged internally. Water heaters will work faultlessly for years without maintenance, only to then suddenly have problems. Some of them you can fix, while others must be left to a professional.
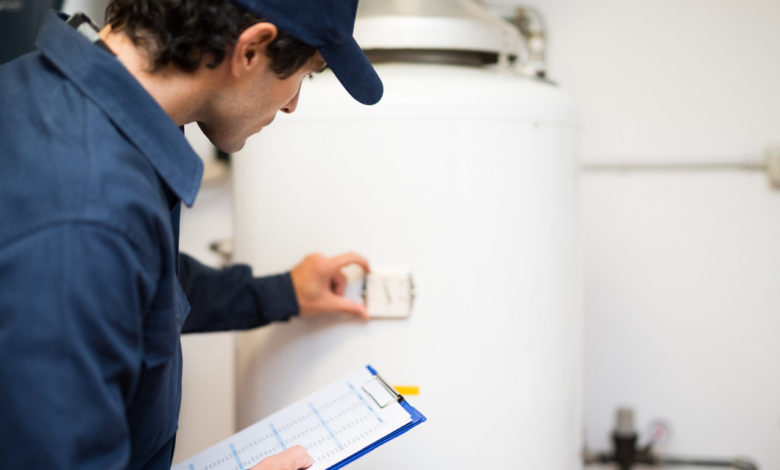
One problem easy to fix: if there is not enough hot water, turn up the temperature. Its thermostat should be set to 60 degrees centigrade. Getting no hot water is a different problem. It is fixed either by turning on the pilot’s light or replacing the heater or thermal couple, depending on if your unit is conventional or electronic. This is better left to a professional or an experienced handyman. If your tank is leaking, it needs to be replaced, and that requires help from a professional water heater repair company.
To keep household costs down, you are better off trying to extend the lifetime of your water heater. Twelve years is the outer limit of a neglected water heater’s life expectancy, but it can be safely prolonged with a yearly 3-step check. This yearly check should take about an hour. Before you start, be sure to read all the instructions on your tank. Have an extra drain valve and pressure valve handy, which you can find easily at any hardware store. You will also need an adjustable pair of pliers, a flathead screwdriver, a bucket, a hose, plumbers tape, and rags for spillage. Two of these steps are valve steps, so do not forget those spares mentioned earlier.
1 Pressure Valve Maintenance
The pressure valve is there to stop the tank from exploding if it overheats. It is located near the top of the tank will have a toggle on it and a discharge pipe facing down. Place a bucket under the pipe and pull the toggle. If no water is released, or if it releases water but leaks afterward, replace the valve. Use the following steps: A. Turn off water and power to the heater. B. Drain tank, which is detailed in Step 2. C. Unscrew valve. D. Wrap new valve’s threads in plumbers tape. E. Screw in the new valve.
2 Drain the sediment from the tank
This is important because sediment will collect at the bottom of your tank, which can damage your tank and raise your electrical bills. The heater at the bottom of the tank has to work harder to warm the water if sediment collects down there, thickening the barrier separating the heater from the water. The drain valve is near the bottom of the tank. Be careful; the water may be hot. Before you start, make sure a hot water faucet is on somewhere in the house so that the correct pressure allows water to flow out. Use a flathead screwdriver to open the valve. Run water through the tank until the water coming out is clear. Close the valve. Refill tank.
Note: Smelly water can be corrected by flushing the tank with water and hydrogen peroxide. Also, noisy tanks can be quieted by flushing out sediment.
3 Drain Valve Maintenance
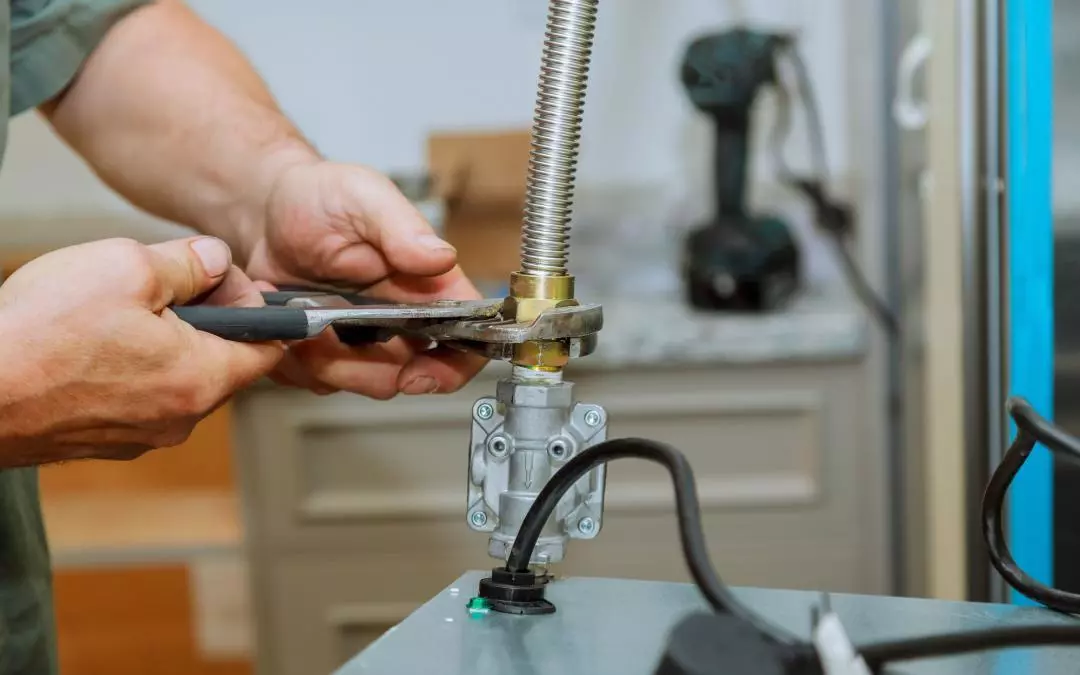
If the drain valve drips after running water through it, replace it. Empty the tank again. Use your pliers to remove the valve. Wrap the new valve’s threads in the plumber’s tape and screw it back in. Turn your water and power on. Check on your work an hour later.
That 3-step checklist is a sure way to add a few years to your water heater’s life. There are other aspects to your tank that also require care but are more strenuous and require more expertise. For instance, your heater has in it an anode rod, which attracts rust-generating elements that would otherwise attack the inner walls of your tank. This item should be replaced every 3 to 5 years.
Before you contact the professionals, be sure to have information about your water heater’s make and model available. The more you can share over the phone, the more likely the professional water heater repair person can foresee what kind of maintenance is required for your water heater. And before you start to tackle any maintenance project with your water heater, take a moment to reflect on whether your DIY levels are up to the job. It is not a crime to not have water heater maintenance among your core competencies.
Many well-intentioned homeowners are their own worst enemies when it comes to honest self-appraisal. Do not talk yourself into a job that is not part of your skillset. If you feel uncomfortable with doing this sort of work, then leave it to a professional.


