Top Ways to Record Videos from a Computer Screen
By using a screen recorder, you can record video footage directly from your computer’s screen, which is more useful than you might think. Not only is it a favorite way to create guides and demonstrations, but it will effectively let you save any content that is on your screen including online streaming videos, video calls, live streams, and so on.
If you’re going to record video footage from your computer screen, however, there are few things that you should know. In particular, these useful tips will help you to carry it out with much less difficulty:
1 Video resolution is the same as the area of your recorded screen
People often focus on recording high-resolution videos, but in screen recording, the resolution is the same as the area of your screen that is being recorded. In other words, if you’re recording a 1080p video on a 1080p screen then it will record the entire screen. Most screen recorders will let you define the area that you want to record, and you can control the video resolution in that way.
2 The frame rate can make a huge difference to the quality
An important parameter, when recording videos from a computer screen, is its frame rate. It can make a huge difference to the quality of the videos, as high frame rates will make the video look more fluid and smooth. That being said the downside to using a high frame rate is the file size of the video will be much larger, and if you’re recording longer videos, it could become prohibitive. Still, if the file size isn’t an issue, you could try to record at 60 frames per second for the best results.
3 Everything will be recorded – including notifications, the mouse cursor, and more
When you’re recording video footage from your screen, you should remember that anything and everything that appears in the defined recording frame will be recorded. That includes notifications from apps that may pop up, your mouse cursor, and various icons on your desktop. The reason it is important to remember this is because you may not want some of these things to be recorded, and if so you should take steps to avoid it such as hiding the mouse cursor, closing unnecessary apps, and removing stray icons.
4 Carefully encode the video with the right settings
After you’re done recording, you should pay close attention and use the right settings when encoding the video. Ideally, you should make sure the frame rate and resolution match the recording and adjust the bitrate to an acceptable level based on both those factors. It is up to you which format you wish to encode your recording to, just remember that newer formats tend to offer better compression for similar qualities and may be preferable.
It is important that you choose a screen recorder that is versatile and will allow you to adjust all the parameters mentioned above so that you record precisely the video footage that you need from your screen. Aside from that you can look at some of the additional features that may be available as well.
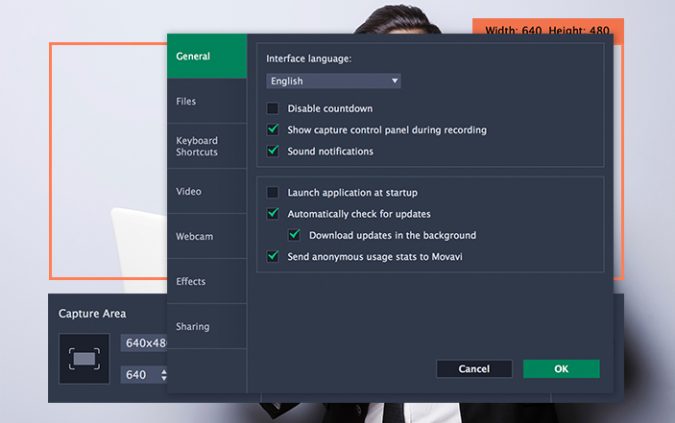
If you are trying to find a capable video recorder for Mac, you could try Movavi Screen Recorder for Mac. It will let you define the capture area, set the frame rate, select the audio source, adjust the volume level, capture keyboard and mouse actions, or even automate the recording.
To top it off, it is effortless to set up and start recording videos using Movavi Screen Recorder for Mac due to its clean, simple and intuitive user interface. All it will take is a minute or two for you to familiarize yourself with its interface and features. In fact the best way to get started is to jump right in and start recording your very first video.


