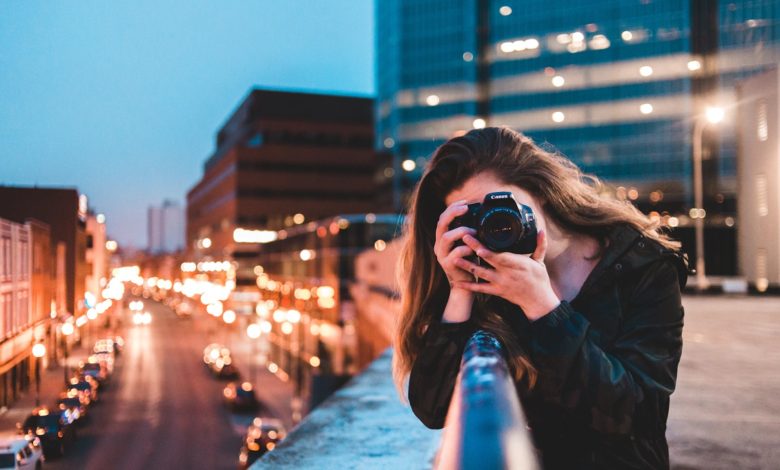
Main Steps to Learn Photography on Your Own
How to learn photography on your own?
What’s the essence of learning photography? If you love to express your creativity through photos, then your camera is the best way to create that experience. It is possible to learn the art of photography and develop your own aesthetics in the process. Even when you don’t end up making a profession out of photography, knowing that you can always take stunning pictures will always be an advantage to you. Therefore here are a couple of photography tips for starters you might want to take cognizance of.
Exploring the camera
Read the instructions on the camera before using it for the very first time. Look at the device’s standard-setting like one mode dial, the number of control wheels needed for aperture and shutter speed, the multiple functionality buttons, autofocus, zoom control, as well as the button for shutter release. It is equally important that you study the major menu items for possible adjustments such as format, white balance, photo quality, as well as autofocus settings.
Main options
Photo brightness can only be possible with the right exposure. The image brightness depends on the level of exposure. Experiment with a number of exposure times so that you can understand the different effects. If fast-moving objects come into the frame, they’re displaced within the time of shutter opening and end up becoming a bit blurred inside the picture.
Adjust the aperture’s size, the lens’s pupil. The smaller the opening of the diaphragm, the more the DOF. A minute value enables the viewer to focus their attention more on the target while blurring out the entire background. A large value is perfect for landscape-focused photography where it becomes necessary for the background and foreground to be sharp.
Get the ISO sensitivity adjusted to get rid of any graininess for quality enhancement. This is particularly relevant for anyone shooting where there is little or no light.
Building a frame
Photography composition talks about the interaction and positioning of light sources and objects within the frame, necessary for forming a complete and harmonious look. Highlighted below are some fundamental rules.
- Don’t position the target in the frame’s center; rather, it should be positioned to the side a bit.
- The light ought to be to the side a bit for the necessity of creating shadows
- Explore the light’s position because it’s the one way to express volume in photographs.
- Optimize natural lighting – it makes more sense than when you use flash lighting.
- Portraits are shot from the person’s eye level, from a minimum of 2 meters. Don’t shoot portraits from the front.
- Anytime you’re shooting landscapes, ensure the line of the horizon doesn’t divide the frame in two.
Also, understand that photography is not a science; nothing is written in stone. Feel free to try whatever pops into your mind.
Editing
Every photographer, regardless of your level, is expected to have the smallest photo editing skills such as correcting the frame, horizon, adjusting the level of exposure, and white balance. If you are photographing for commercial purposes, then you can do your editing from any of the numerous programs and applications that are out there. On a few occasions, you wouldn’t need any post-processing. That is, however, common with photographers that are experienced.
If you are shooting portraits, you should learn retouching. Having to make use of the body and skin inside a picture is harder than having the characteristics adjusted. To kick-start your editing adventure, you can get on with the RetouchMe application on https://retouchme.com. It comes with a lot of editing options.


