How to Create a Bootable Installer for MacOS
Whether you’re looking to install macOS on various devices, or you’re simply looking for a clean new install to overcome some Mac issues, you can create your bootable install manually without too much hassle.
The only tricky part of installing a fresh macOS is turning the USB into a bootable installer. Once you have done this, the rest is plain sailing.
Firstly, the USB is your friend – this is where you’re going to be booting the OS from. However, any external drive can be used. So, before starting, what are the requirements?
You will need:
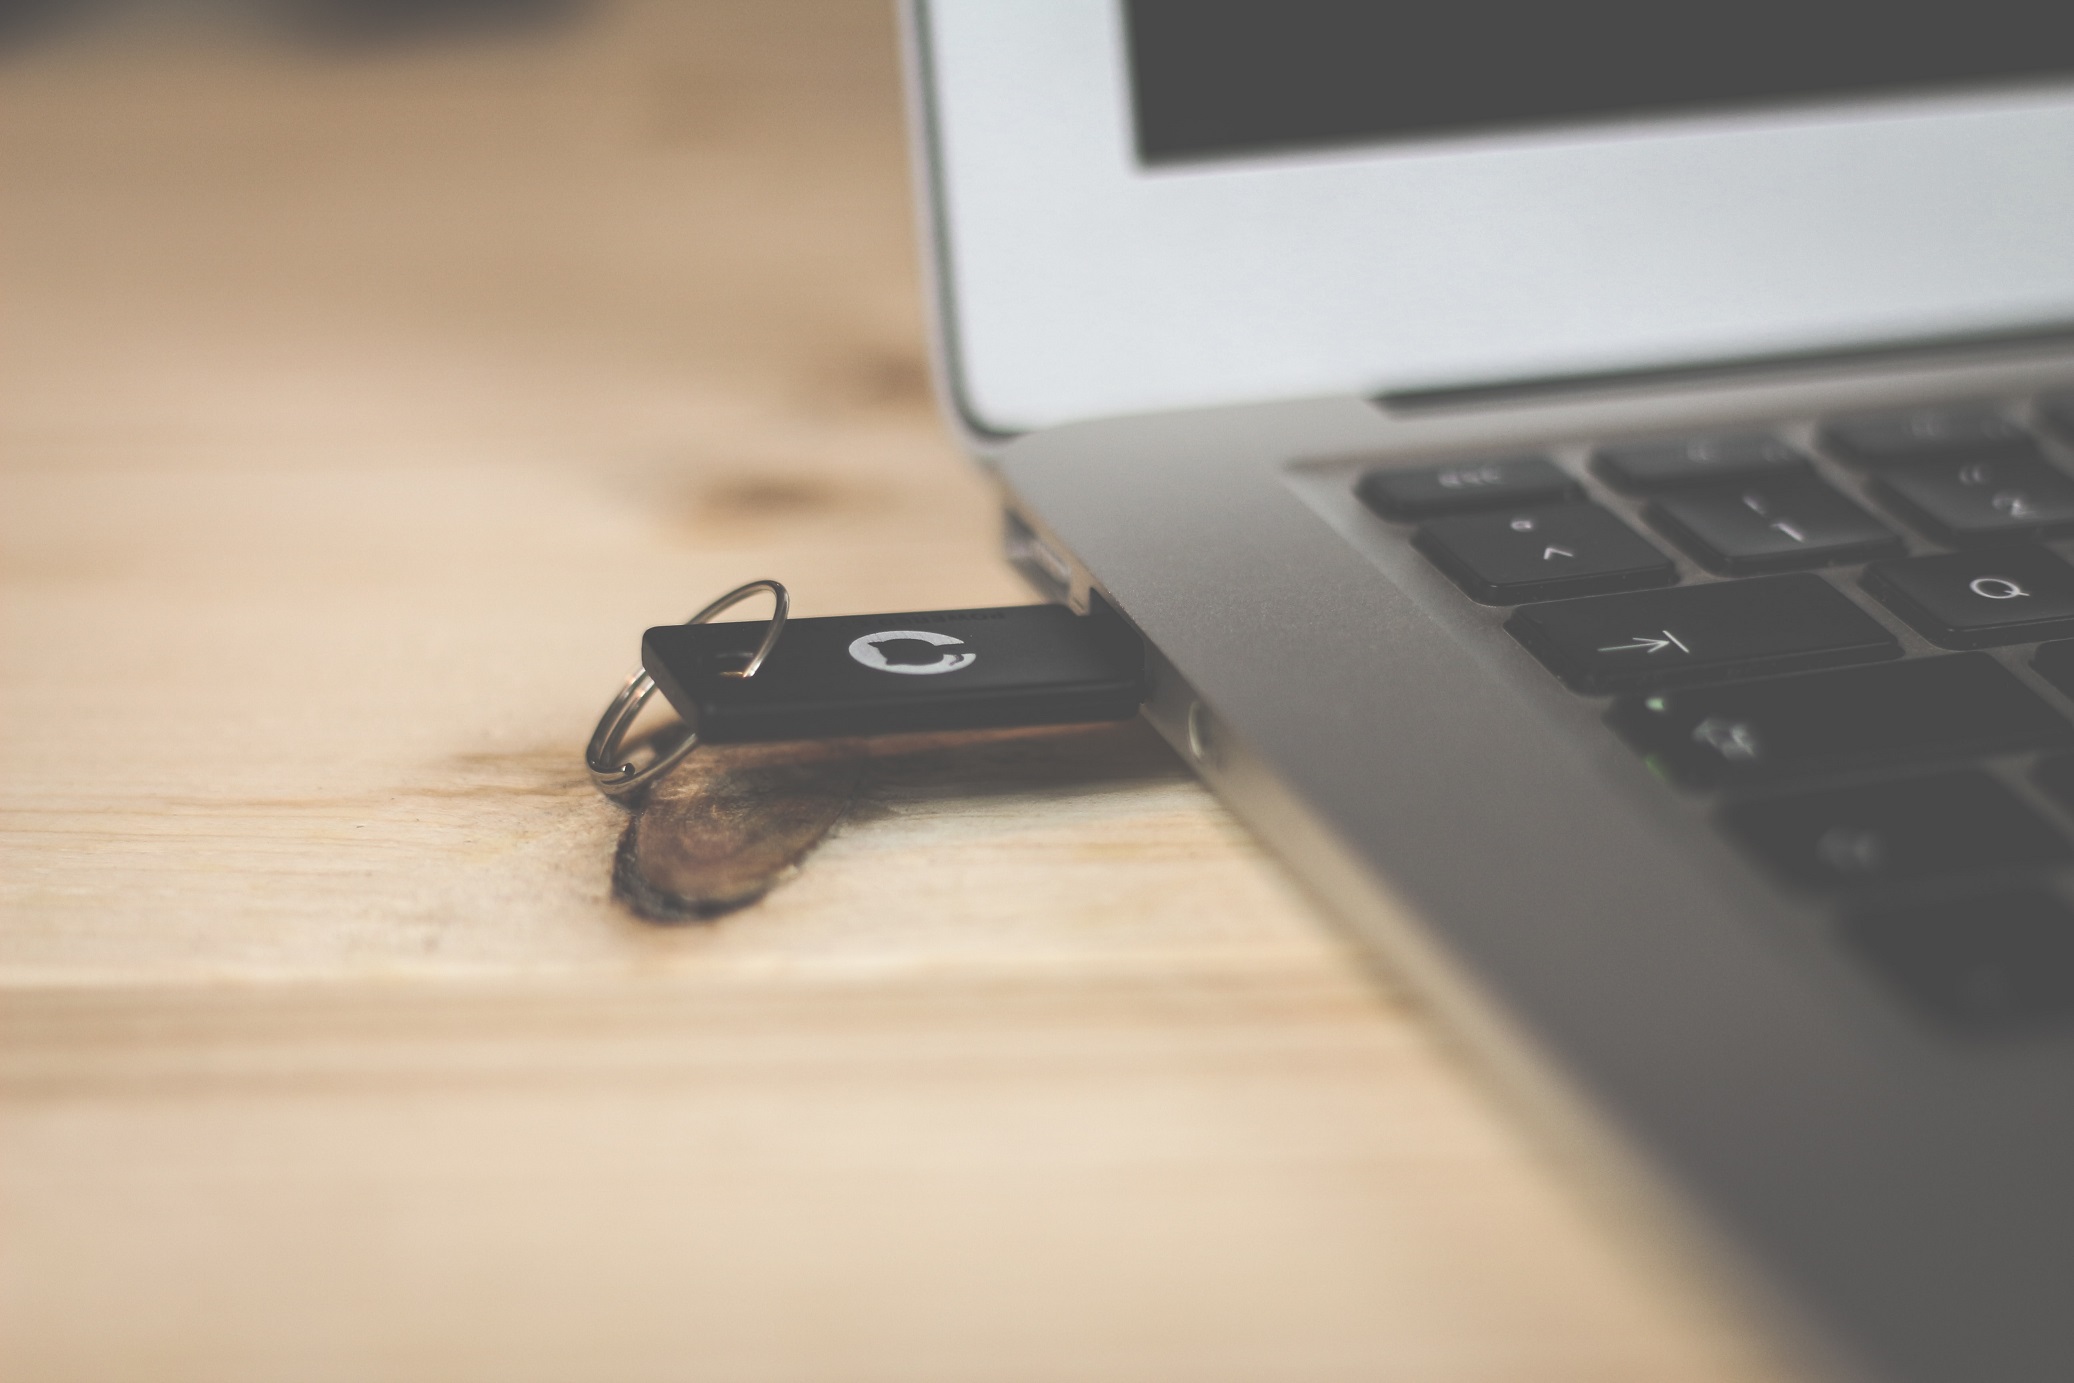
- A USB with at least 16GB of memory capacity – an 8GB stick will not cut it. USB 3 or USB-C will be preferable but not necessary. Ensure the USB is reformatted and erased (explained how below). Alternatively, an HDD/SSD can be used.
- The bootable installer for macOS can be downloaded from the Apple Support site (choose the Monterey installer).
To reformat the USB, launch Disk Utility by pressing Command and Spacebar – then type in ‘Disk Utility. Plugin the USB and choose to show all devices. Choose the root drive in the sidebar and press Erase. Mac OS Extended (Journaled) should be the format. After choosing the GUID Partition Map (Scheme), change the name of the drive to ‘MyVolume’ and click Erase. For extra help in formatting, head to the official Apple advice.
1 Creating the bootable installer USB
So, the next step is to transform your USB into a bootable installer. To do this, plug the USB into your Mac and head to the terminal.
Enter the following text:
sudo /Applications/Install\ macOS\ Monterey.app/Contents/Resources/createinstallmedia –volume /Volumes/MyVolume
The installer file must be in the Applications folder for this to work.
Enter the Admin password if asked and type Y, then enter to confirm the volume erase.
2 Booting the Mac from USB
So, once the bootable USB is created, it’s time to get booting. Then, connect the USB into the machine you’re looking to implant macOS into – and keep WiFi on at all times. Then, restart your Mac by keeping the power button held down during the boot process if you’re on a silicon Mac – if you’re on an Intel Mac, then hold down the options button while it’s booting.
The Mac will present the Startup Manager window, in which you can select your USB drive and begin following the instructions. If you stumble upon any obstacles from using the on-screen instructions, Apple support has resources to further assist with a Mac installation. However, the process is relatively straightforward once the bootable USB has been created.
If you don’t know if your Mac is an Apple silicon or an Intel Mac, you will have to go on About This Mac (found in the Apple menu). Apple silicon users will have ‘Chip’ written in the details, followed by the chip name (i.e., Apple M1 Pro). Intel Mac users will instead have the word ‘Processor’ instead of ‘Chip,’ followed by the processor name.
